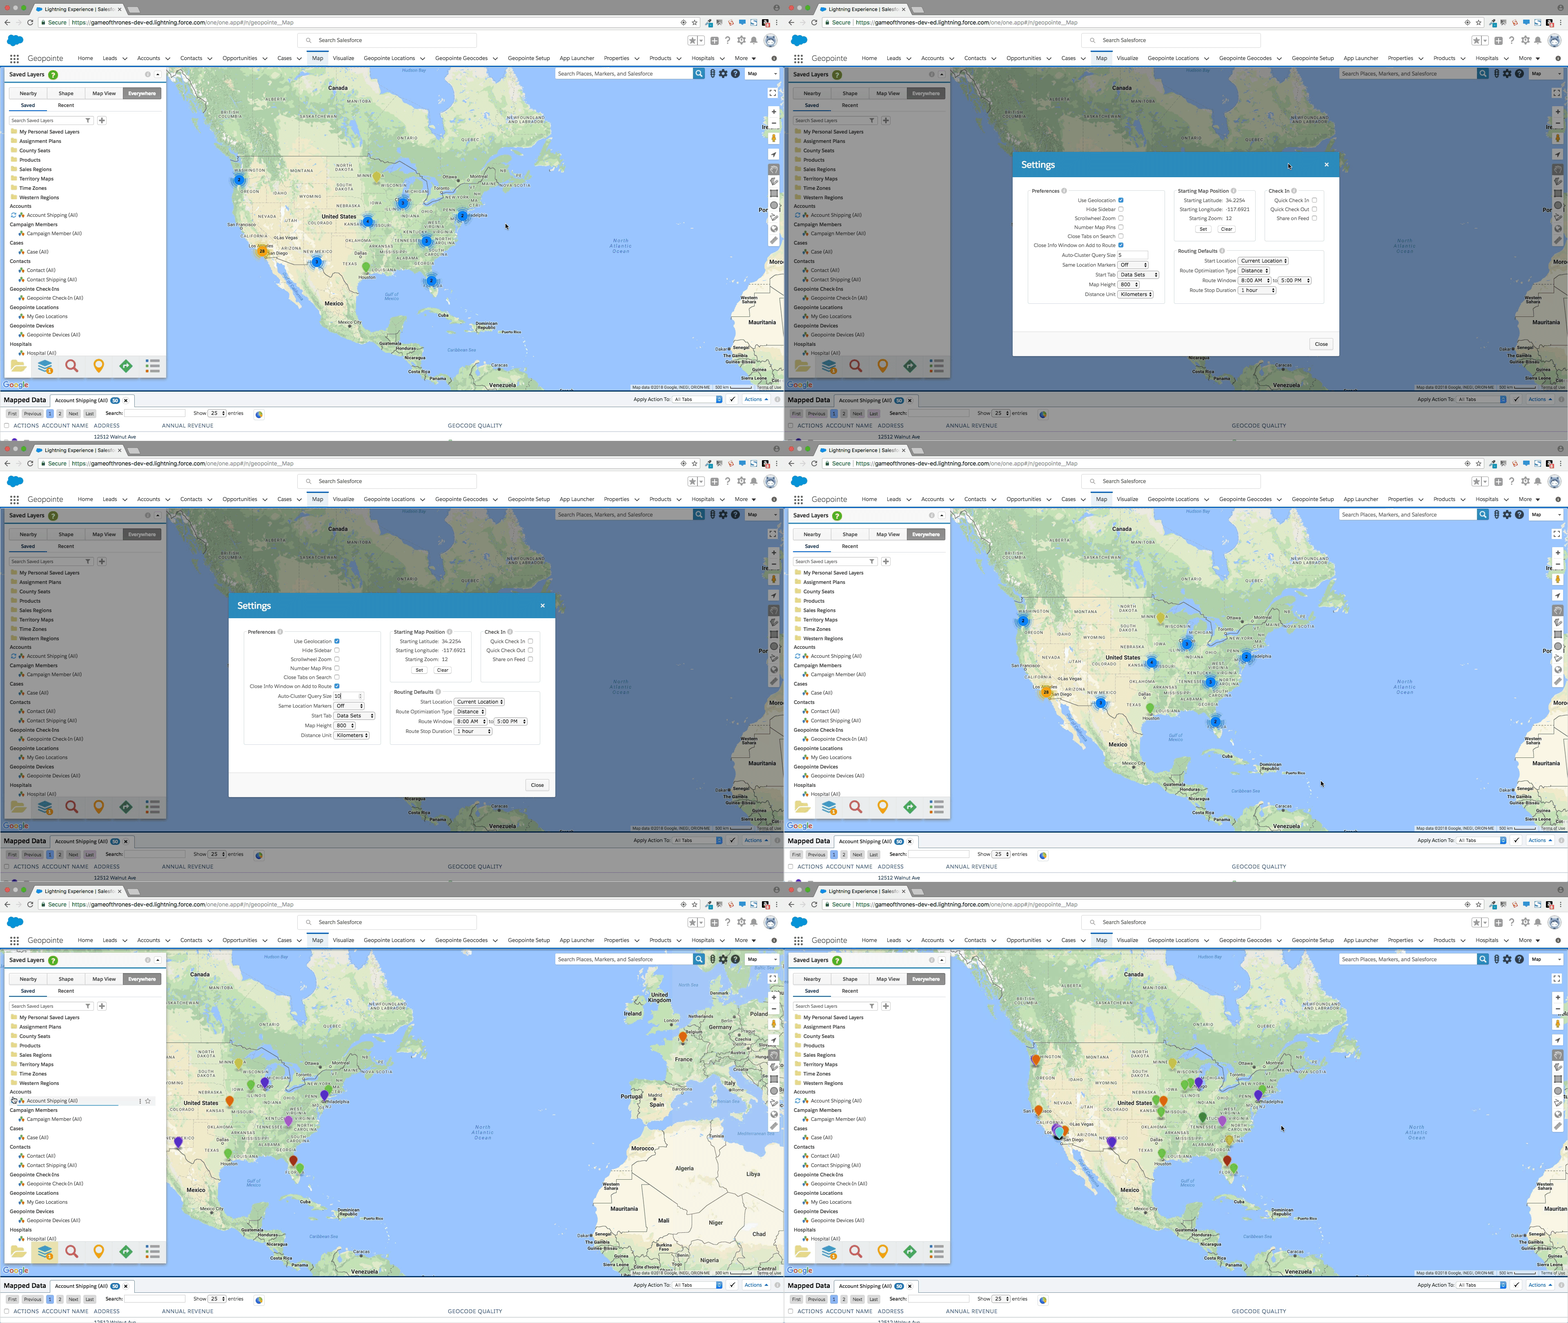
 From person to person, Geopointe fulfills a wide range of duties based on individual roles and responsibilities. As such, Geopointe was built to ensure that every end-user could easily customize their map settings to meet their specific needs. But, not every Geopointe user knows about these dynamic customizations, or how easy they are to apply! To help bridge the gap, here are seven easy Geopointe customizations, and how to easily apply them to your map.
Pro tip: Click the image in each section for additional setup instructions.
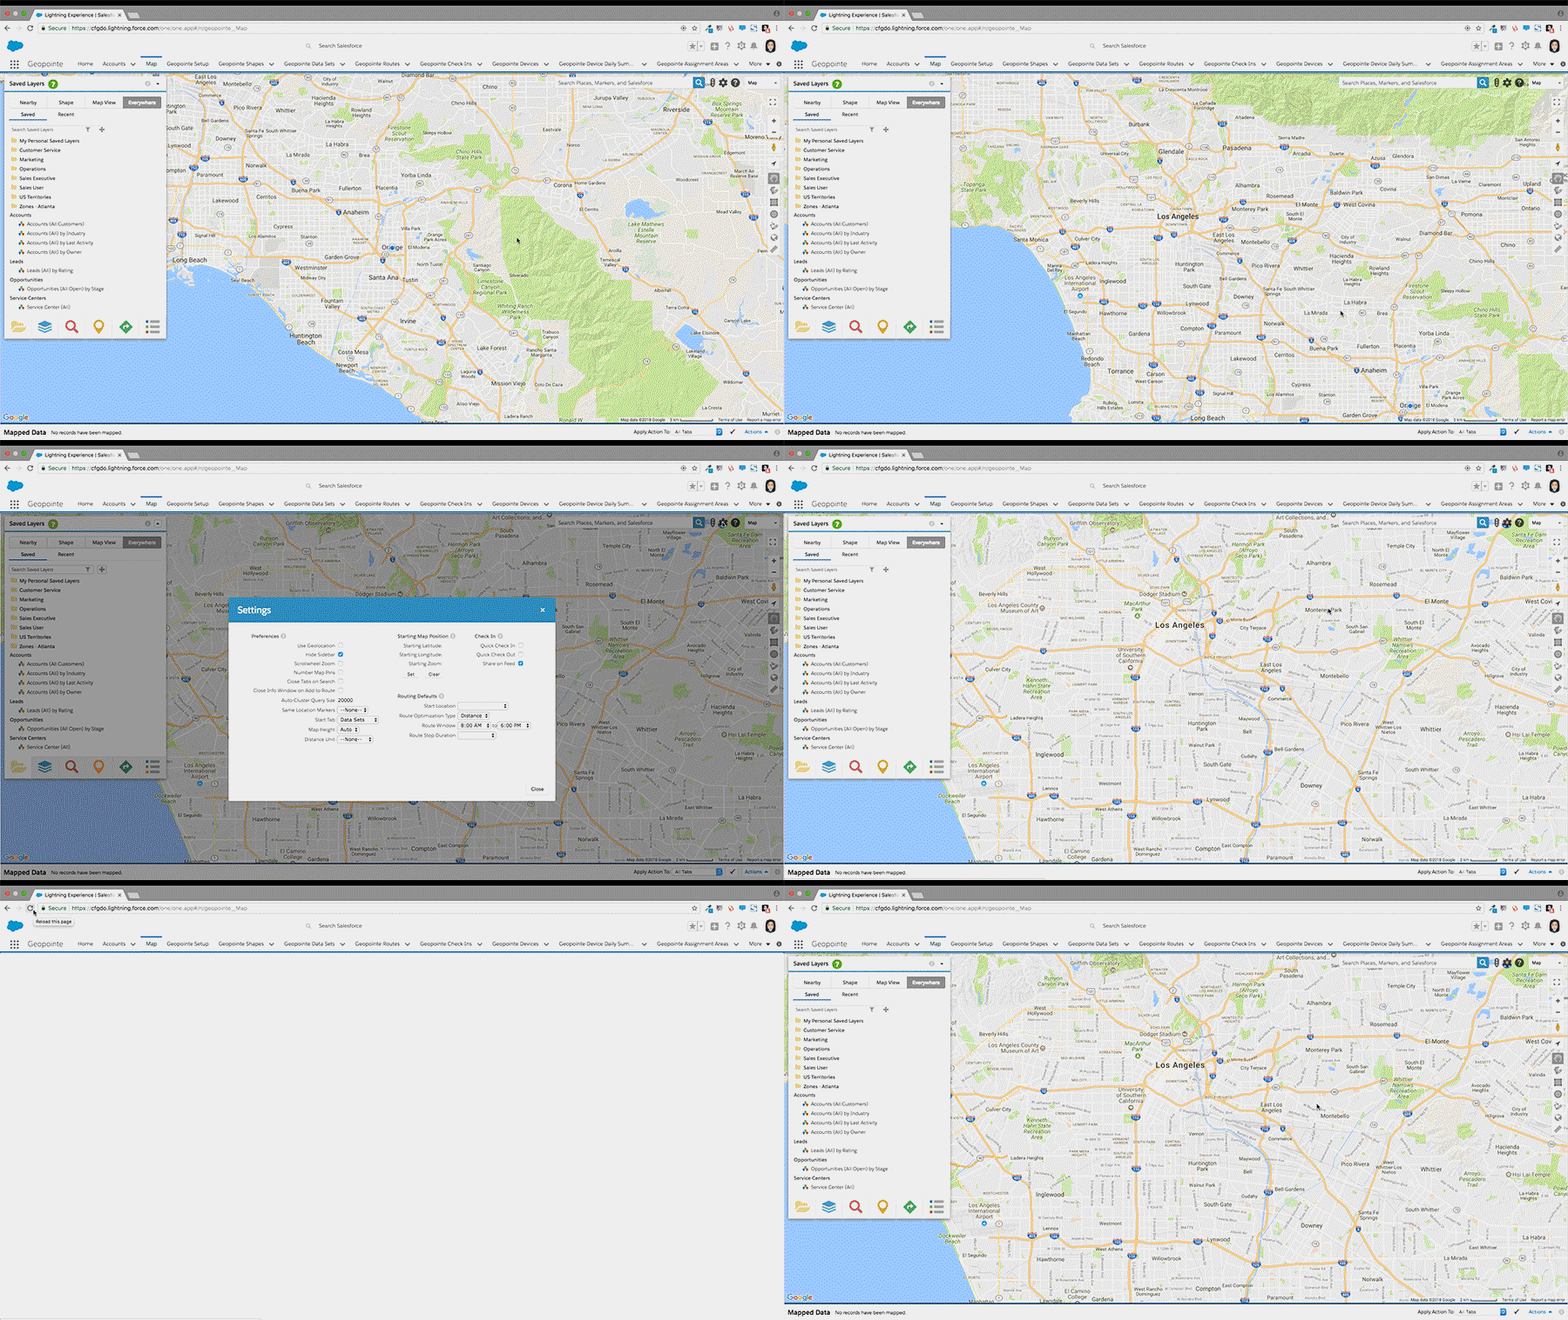
1. Set a Default Starting Location
Benefits:
• Automatically start at a specific location and zoom level
• Change your default location as your routine changes
By automatically loading the map at a convenient location, such as your company office, home office or a target area for a future business trip, you can make your map searches more intelligent and efficient. This is especially convenient when you are planning a future route from your desktop. While your Geopointe admin can set this for your entire organization, you can adjust it at any time to suit your current needs.
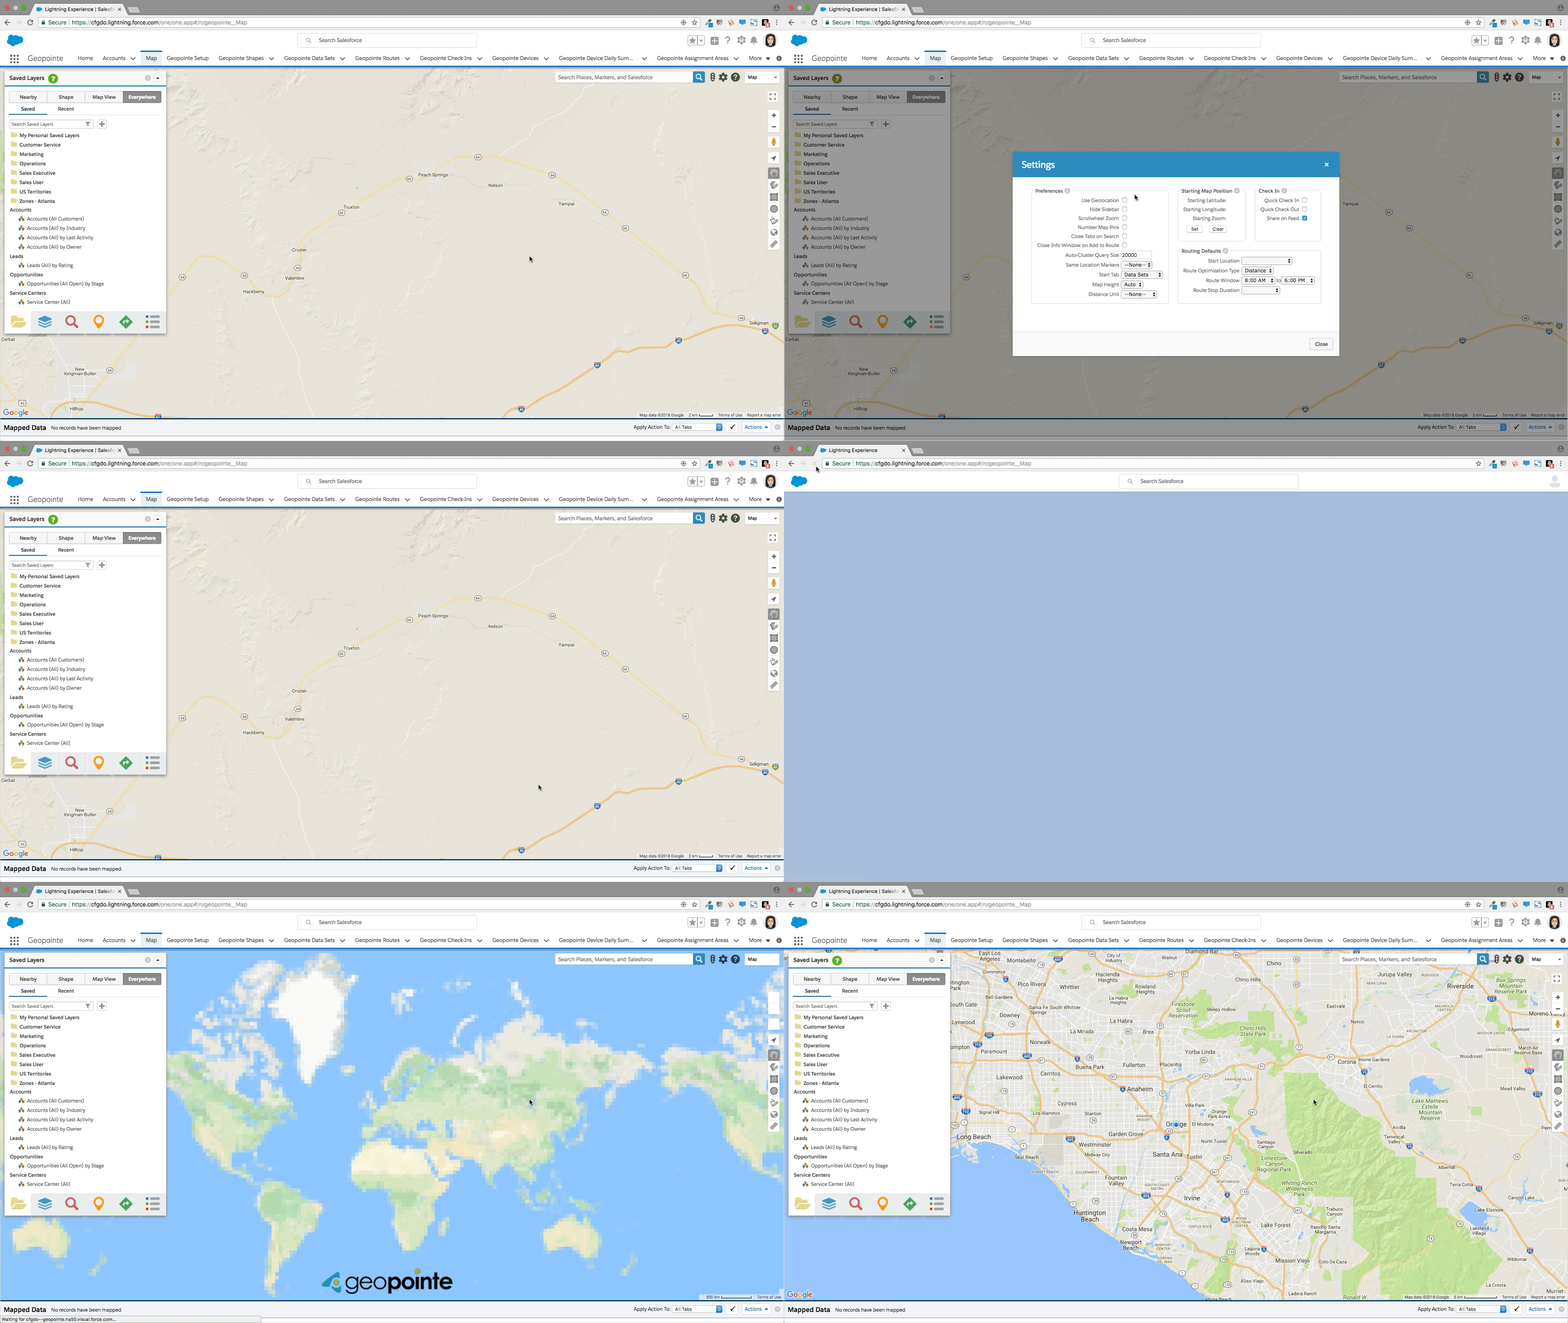
2. Default to Your Current Location
Benefits:
• Automatically start at your current location
• Easily run nearby searches when you’re on the road
If your role requires you to spend a lot of time on the road, this setting can be golden. It allows you to conduct a relevant nearby search so you can reach out to leads, prospects or other nearby records. Keep in mind that this will always override any default starting location that has been set by your admin.
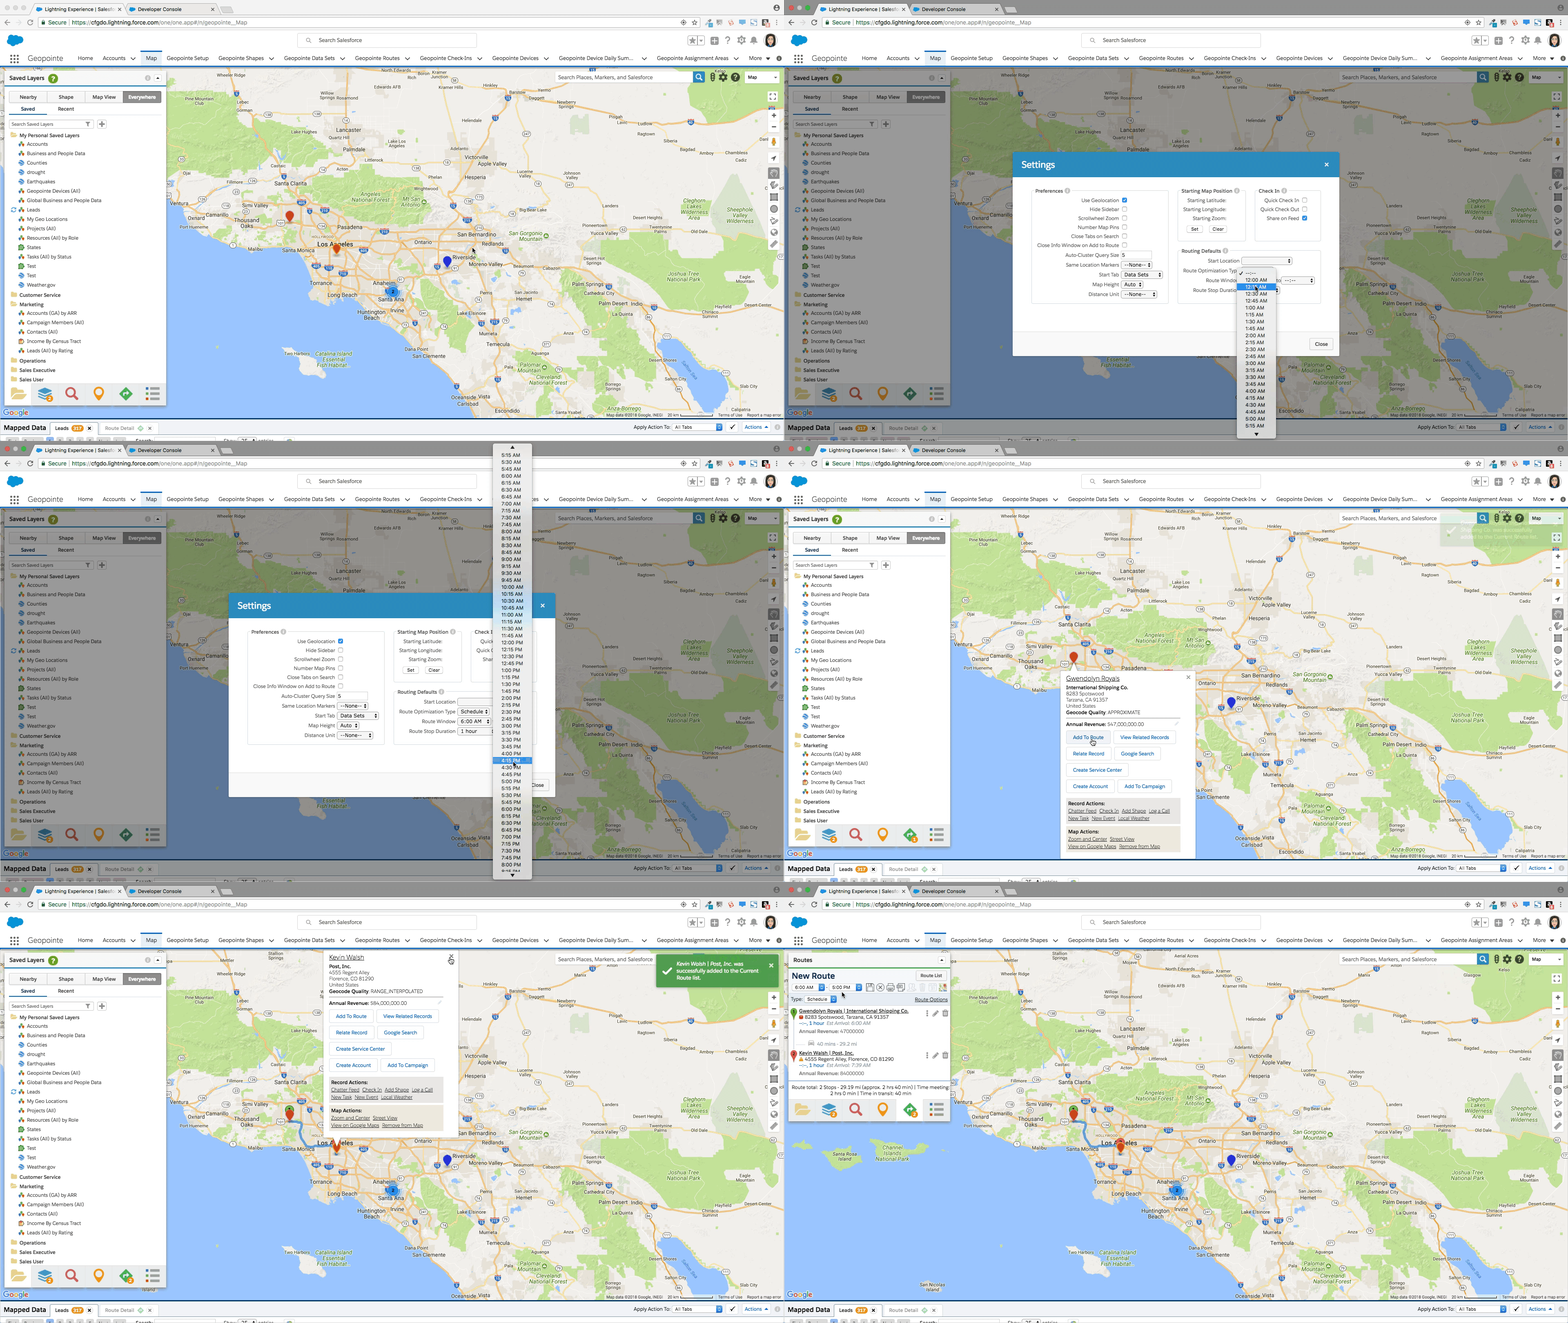
3. Manage Your Time with Route Windows
Benefits:
• Scheduled route stops will always conform to your working hours
• Adjust your working hours whenever necessary
This is a powerful way to ensure you’re fitting your scheduled routes into your workday. For example, if you work from 8 a.m. to 5 p.m., this adjustment will create a default warning if your last stop of the day is estimated to end after 5 p.m. or if your first stop of the day requires you to get on the road before 8 a.m. But if you plan for a longer or shorter day, it’s easy to make the change from the Settings (gear) icon at any time.
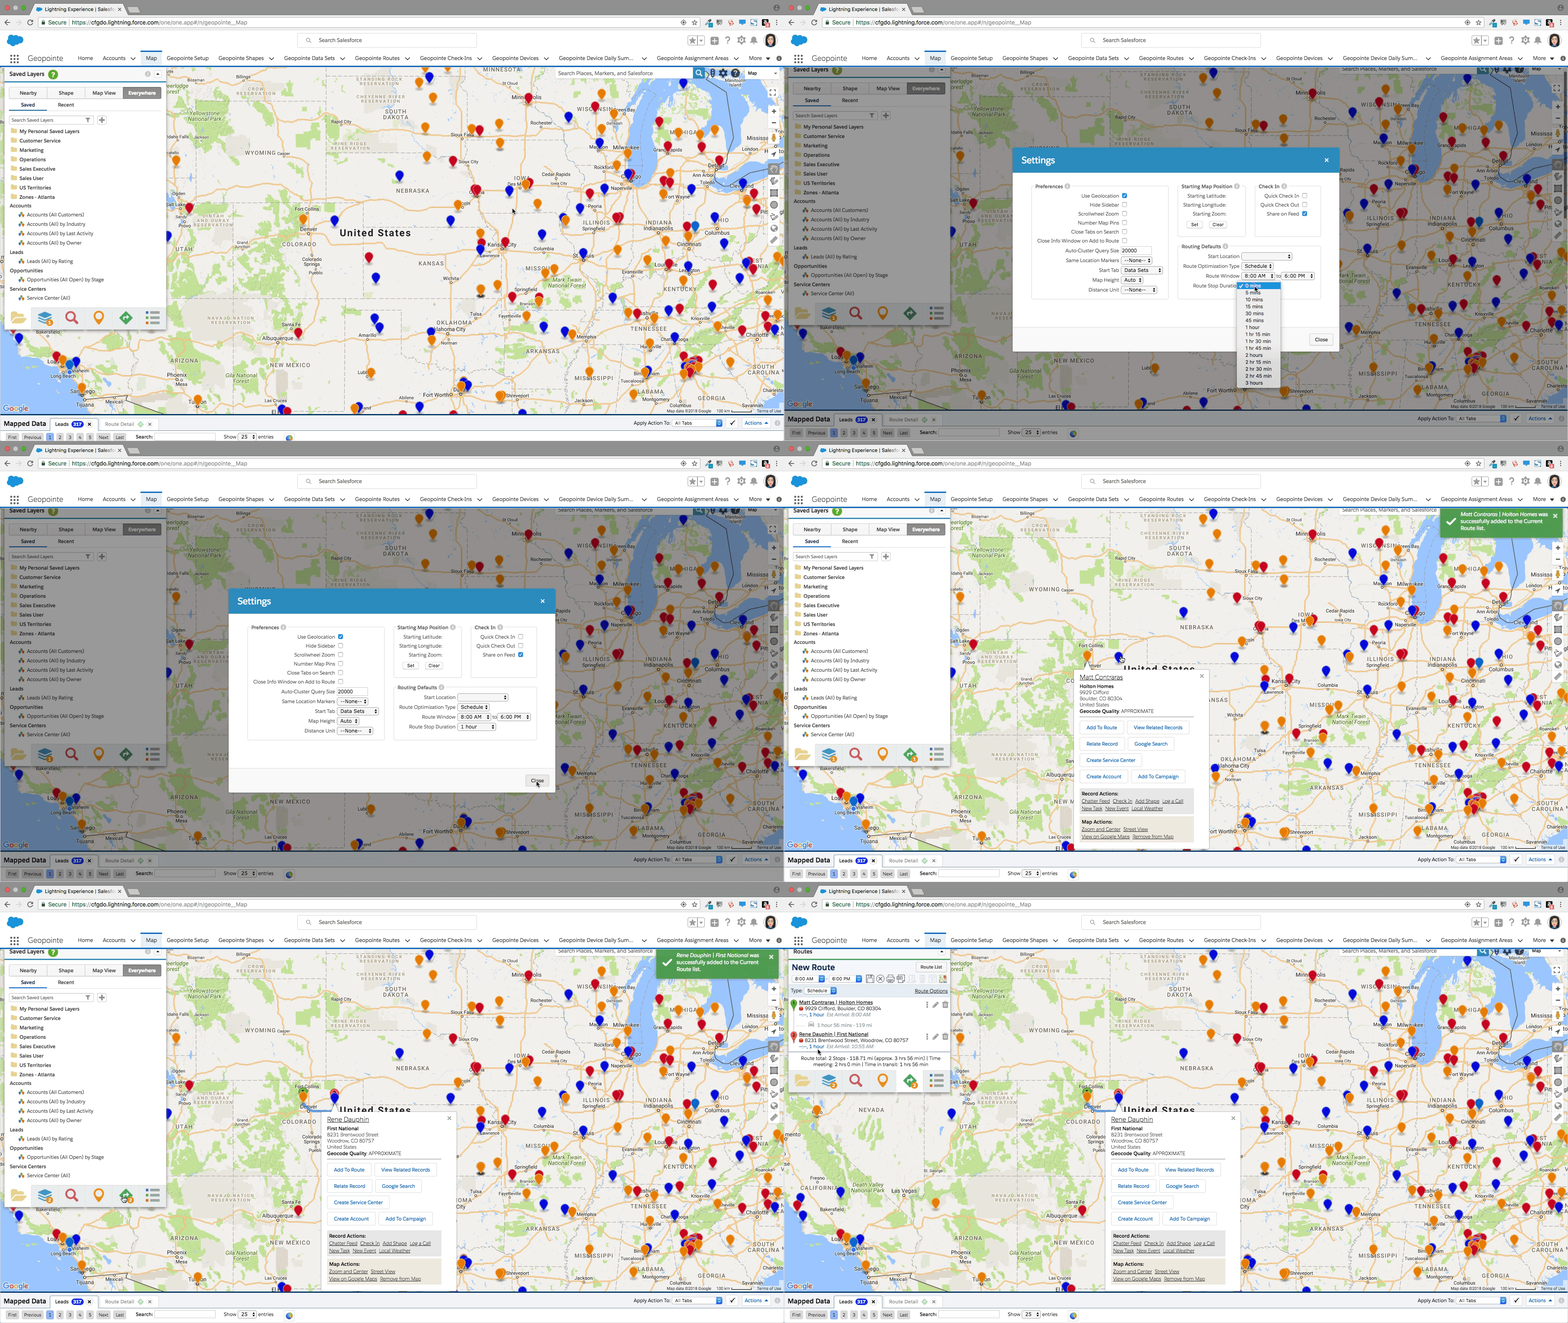
4. Create Routes with a Default Stop Duration
Benefits:
• Set a default duration for every stop on your routes
• Speed up the route planning process
You can make your route planning much faster if you already know how long each of your appointments will be. For example, if you plan to meet with every prospect for one hour, the Route Planner will automatically set this every time you add a stop, so you don’t need to adjust it manually. However, if you have other plans for one specific stop, you can still adjust that duration at any time.
5. Check-in & Check-out with a Single Tap
Benefits:
• Check-in and check-out quickly and efficiently
• Track your meetings and stops with ease
This setting is ideal for field teams and sales reps who need to log their stops quickly and easily. With a single tap, each check-in or check-out is logged in Salesforce and can easily be tracked via the check-in object and reports. Keep in mind that this setting doesn’t allow you to add notes, so its best for simple tracking purposes and not detailed meeting reports. You can activate quick check-in & check-out from the desktop or from the Salesforce mobile app.
6. Organize Your Data with Numbered Map Pins
Benefits:
• Correspond mapped data with list data
• Set an “Order By” field to see patterns in your data
When you have a map full of numerous records, identifying them with numbers can help you connect the listed data with what’s on the map. From there, you can take this feature a step further by ordering the mapped data by a certain field. For example, by ordering the data by the “Annual Revenue” field, the map will show you which records have the greatest revenue, listing them as 1, 2, 3, etc.
7. Set Auto-Cluster Sizes
Benefits:
• Represent records with clusters instead of pins
• Visualize patterns in large amounts of data
By default, Geopointe will show clusters instead of markers when there at 2,000 or more results in that location. However, perhaps you want to make this summary more flexible or maybe you don’t want to see it at all. You can adjust it to a lower number if you want to see more of these record clusters. If you never want to see clusters, you can set the number to above 50,000.

